
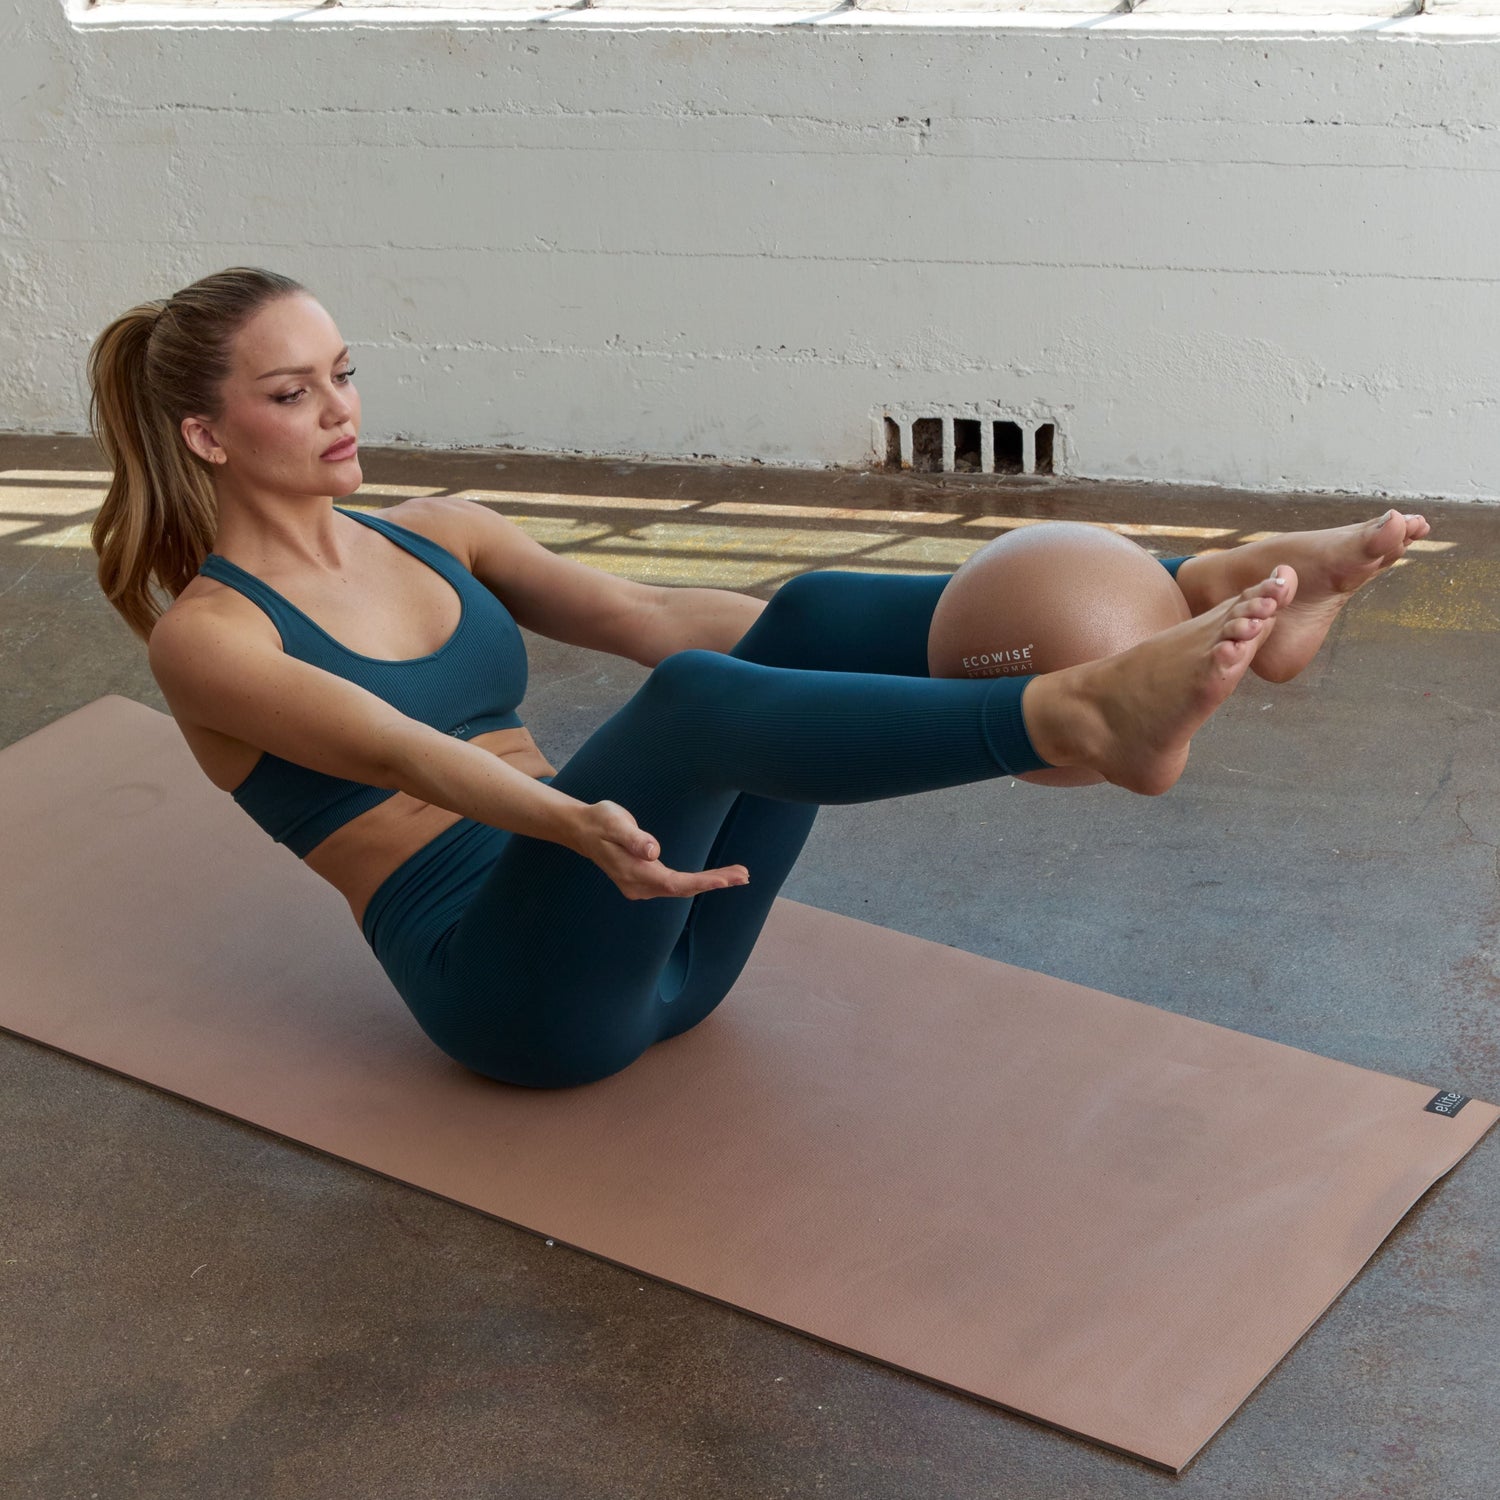

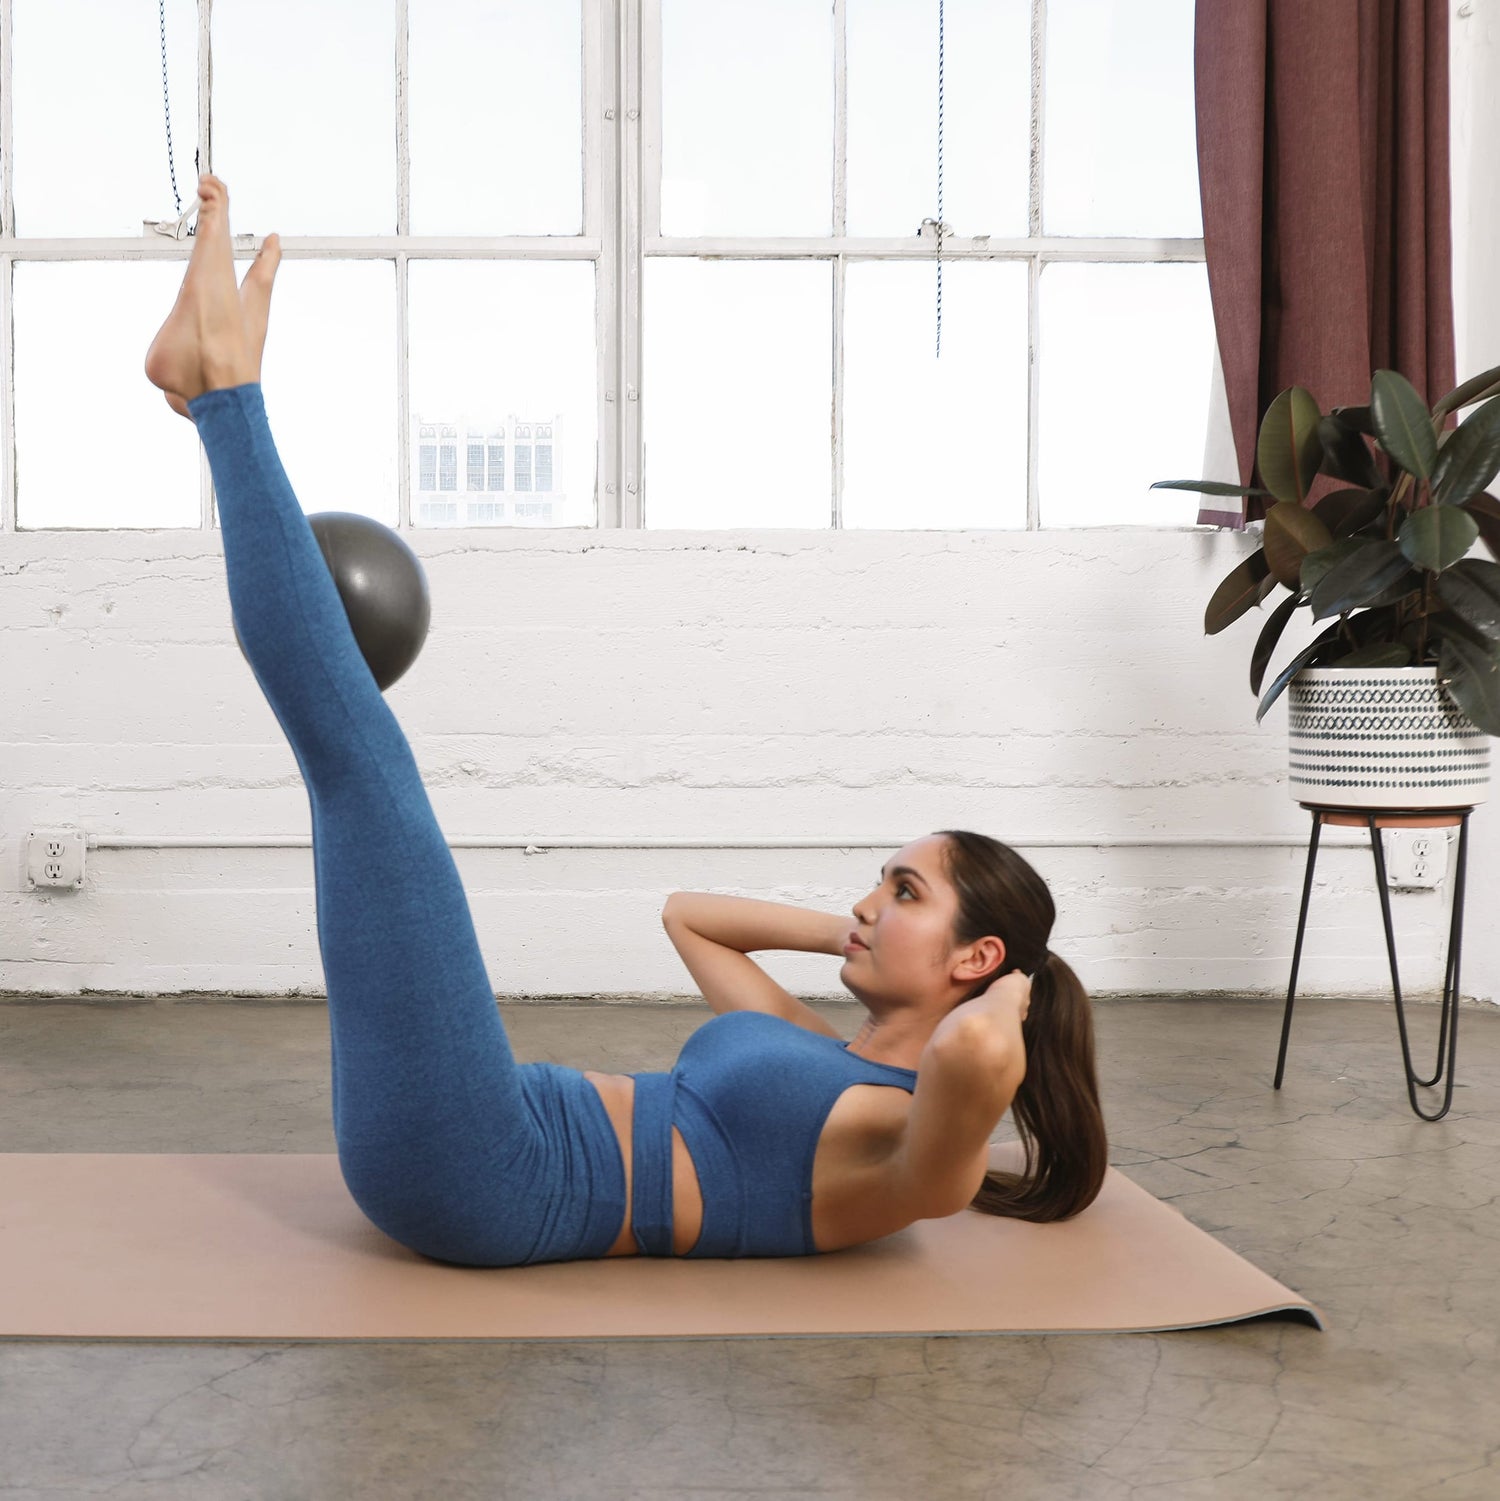


Understanding how to use resistance bands effectively can transform your at-home workouts into challenging, dynamic sessions that improve strength, flexibility, and overall fitness. Whether you’re new to exercise or an experienced athlete, resistance bands offer a versatile and portable way to target every major muscle group. With the right techniques, you can boost your training results, prevent injury, and enjoy a full-body workout without heavy equipment.
At Aeromat, we’re committed to supporting your movement, health, and productivity with high-quality resistance gear designed for lasting performance. In this guide, you’ll learn about different types of resistance bands, step-by-step setup instructions, essential exercises, safety tips, and how to choose the right equipment for your needs.
Types of Resistance Bands and Their Uses
Resistance bands come in various shapes, lengths, and resistance levels. Each type offers unique benefits depending on your training goals. Here’s what you need to know before you start.
Loop Bands

Loop bands are continuous circles of elastic material, available in different resistance strengths. They are excellent for lower body exercises such as glute activation, hip strengthening, and leg toning. You can use them for squats, lateral walks, or even mobility warm-ups before running.
Tube Bands with Handles

Tube bands are cylindrical elastic tubes equipped with handles on each end. They’re ideal for upper body training because they provide a comfortable grip for exercises like chest presses, rows, and bicep curls. Many tube bands can be anchored to doors or stable structures for a wider range of movements.
Flat/Therapy Bands

Flat bands are long, wide strips of elastic material without handles. They’re commonly used in physical therapy, rehabilitation, and flexibility training. These bands are perfect for gentle stretching, low-impact exercises, and gradual strength building.
Mini Bands and Figure-8 Bands
Mini bands are smaller loop bands that target specific muscle groups such as glutes, hips, and shoulders. Figure-8 bands have a built-in twist and handles, making them useful for isolated movements like lateral shoulder raises or seated rows.
How to Use a Resistance Band: Step-by-Step Setup
If you’re wondering how to use a resistance band correctly, the process starts with selecting the right type and resistance level. Here’s a simple step-by-step guide to get you started safely and effectively.
- Choose the Right Resistance: Select a band that challenges your muscles but still allows you to complete exercises with proper form. Beginners may prefer lighter bands, while experienced users can opt for medium or heavy resistance.
- Inspect Before Use: Check for any signs of wear, cracks, or fraying. Damaged bands can snap and cause injury.
- Secure the Anchor Point: If your exercise requires an anchor (such as a door or pole), make sure it’s stable and strong enough to handle the tension. Use a door anchor accessory if available.
- Position Your Body: Stand, sit, or lie down according to the exercise. Maintain a stable stance and keep your core engaged.
- Maintain Tension: Avoid letting the band go slack between repetitions. Continuous tension ensures maximum muscle engagement.
How to Use Resistance Bands to Target Major Muscle Groups
One of the greatest advantages of resistance bands is their ability to work every muscle in your body without bulky machines. Here are beginner-friendly exercises for each major muscle group.
Upper Body Workouts with Resistance Bands
Bicep Curls
• Stand with both feet on the center of the band.
• Hold the handles or ends with palms facing forward.
• Curl your hands toward your shoulders while keeping elbows close to your body.
• Lower slowly and repeat for 12–15 reps.
Tricep Extensions
• Anchor the band overhead (e.g., to a door).
• Hold the ends with elbows bent and close to your head.
• Extend your arms upward until fully straightened, then return to the starting position.
• Perform 10–12 reps.
Shoulder Presses
• Stand on the band and hold handles at shoulder height, palms facing forward.
• Press your arms upward until fully extended.
• Lower slowly and repeat for 10–12 reps.
Lower Body Strength and Toning
Squats with Bands
• Stand on the band with feet shoulder-width apart, holding the ends at shoulder height.
• Lower into a squat while keeping your chest lifted.
• Push through your heels to return to standing.
• Complete 12–15 reps.
Lunges with Bands
• Step one foot onto the center of the band.
• Hold the ends at your sides or shoulders.
• Lower into a lunge, then return to standing.
• Perform 10–12 reps per leg.
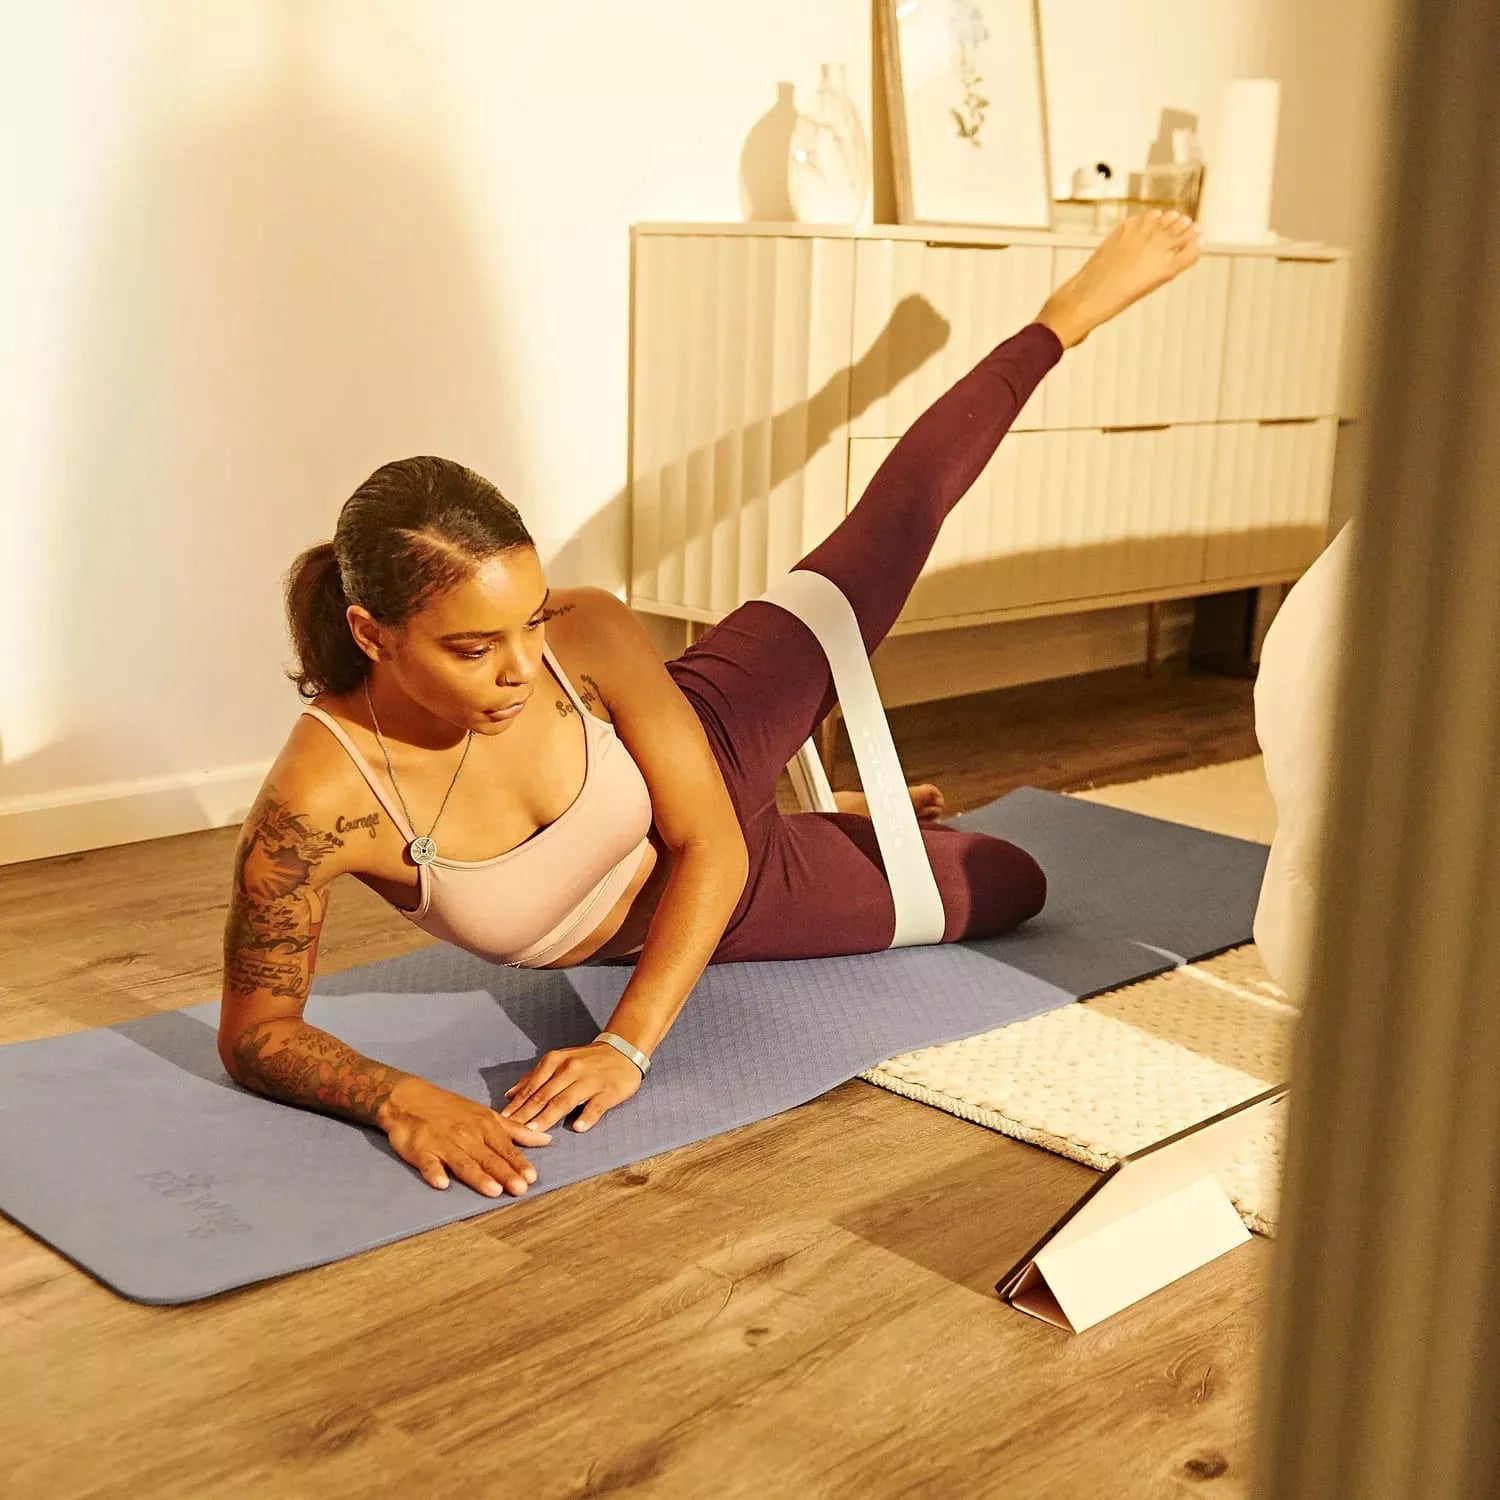
Lateral Band Walks (with mini bands)
• Place a mini band above your knees or around your ankles.
• Bend slightly at the knees and take small steps sideways.
• Repeat for 8–10 steps in each direction.
Chest and Core Activation
Standing Chest Press
• Anchor the band behind you at chest height.
• Hold handles with elbows bent and palms down.
• Press forward until arms are straight, then return slowly.
• Do 12–15 reps.
Push-Aparts
• Hold the band at shoulder height with both hands.
• Pull your hands apart until the band stretches across your chest.
• Return to starting position and repeat 10–12 times.
Plank Band Pulls
• Wrap the band around your wrists while in a plank position.
• Step one hand sideways to create tension, then return.
• Alternate sides for 8–10 reps.
Safety Guidelines for Resistance Band Training
Safety is essential when using resistance bands. Follow these tips to protect yourself and your equipment.
• Warm Up First: Perform light cardio or dynamic stretches to prepare your muscles.
• Focus on Form: Proper alignment prevents strain and ensures you work the intended muscles.
• Progress Gradually: Increase resistance or repetitions slowly to avoid overuse injuries.
• Store Properly: Keep bands away from sharp edges, direct sunlight, and extreme temperatures.
Benefits of Adding Resistance Bands to Your Fitness Routine

Resistance bands aren’t just a convenient alternative to weights—they offer unique advantages for all fitness levels.
• Versatility: Suitable for strength training, stretching, mobility, and rehabilitation exercises.
• Portability: Lightweight and easy to carry, perfect for travel or small spaces.
• Joint-Friendly: Low-impact resistance reduces stress on joints while still building muscle.
• Cost-Effective: A single set of bands can replace multiple pieces of gym equipment.
• All Fitness Levels Welcome: From beginners learning how to use resistance bands to advanced athletes seeking a challenge, bands can adapt to your needs.
Your Trusted Source for Resistance Bands
At Aeromat/EcoWise, we believe in making fitness accessible, effective, and sustainable. Our resistance bands are crafted from durable, high-quality materials that deliver consistent performance workout after workout. We offer a wide variety of loop bands, tube bands, flat therapy bands, and mini bands to help you achieve your goals—whether you’re training for strength, flexibility, or recovery.
Ready to get started? Explore our complete Aeromat resistance collection and find the perfect band for your workout today. With Aeromat/EcoWise, you’re investing in equipment that supports your health, movement, and everyday productivity.
Frequently Asked Questions
What type of resistance band is best for small-space home workouts?
Mini bands and flat therapy bands are perfect for compact areas. They store easily and still deliver a full-body workout.
Can I use Aeromat resistance bands for physical therapy exercises?
Yes. Our light-resistance and therapy bands are ideal for gentle rehab and mobility training.
How do I choose the right resistance level for my workout?
Start with a lighter band and increase resistance as your strength improves.
Are Aeromat/EcoWise resistance bands suitable for travel workouts?
Absolutely. They’re lightweight, portable, and easy to pack for workouts anywhere.
How do I safely anchor resistance bands during exercises?
Use a door anchor, sturdy pole, or step on the band to keep it secure during workouts.

